Before you start
- Your domain points to your hosting (DNS updated).
- You can log in to cPanel (details from your AppyHost welcome email).
Step 1 — Log in to cPanel
- Go to your cPanel login URL (from your AppyHost welcome email).
- Enter your Username and Password, then click Log in.
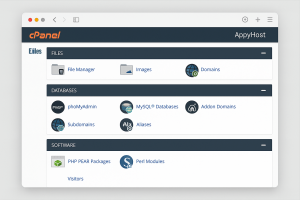
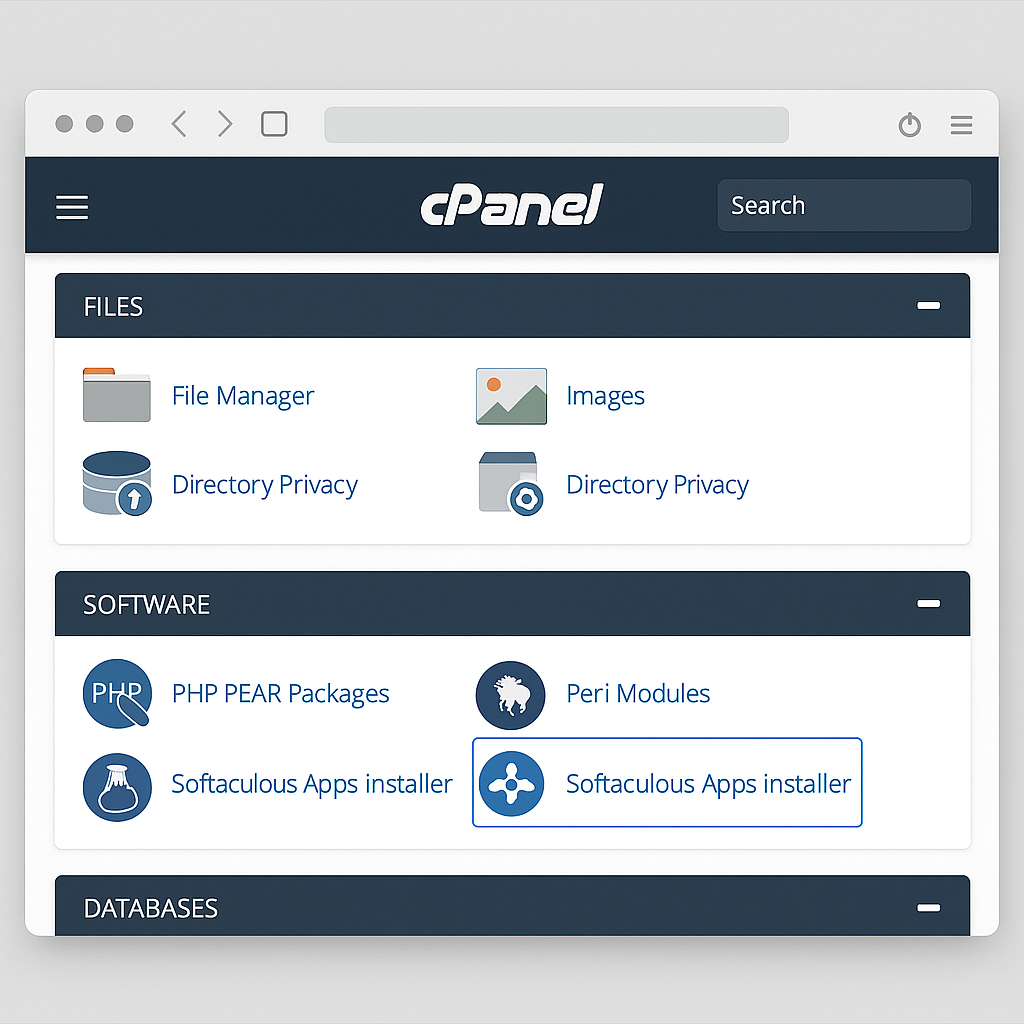
Step 2 — Open Softaculous App Installer
- In cPanel, scroll to the Software section.
- Click Softaculous Apps Installer (or WordPress Manager by Softaculous).
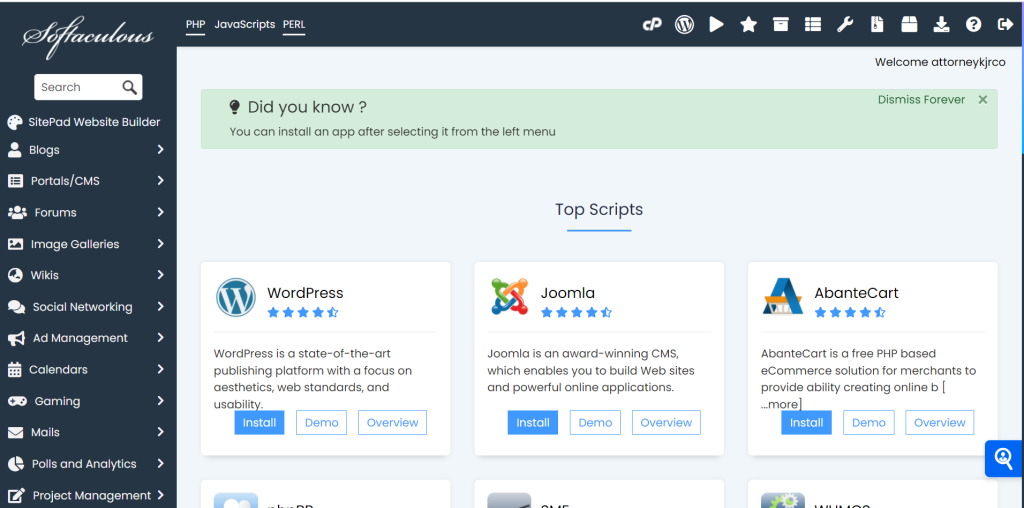
Step 3 — Choose WordPress
- In Softaculous, click WordPress.
- Click Install (or Install Now).
Step 4 — Installation URL & Protocol
- Choose Installation URL
- Protocol: Select
https://if your SSL is already active; otherwisehttp://(you can enable SSL after). - Domain: Pick the domain/subdomain to install on.
- In Directory:
- Leave blank to install on the root (e.g.,
yourdomain.co.za). - Enter a folder name (e.g.,
blog) to install atyourdomain.co.za/blog.
- Leave blank to install on the root (e.g.,
- Protocol: Select

Step 5 — Site Settings
- Site Name: Your website/brand name (can change later).
- Site Description: Short tagline (optional).
- Disable Multisite (WPMU): Leave unchecked (unless you know you need multisite).
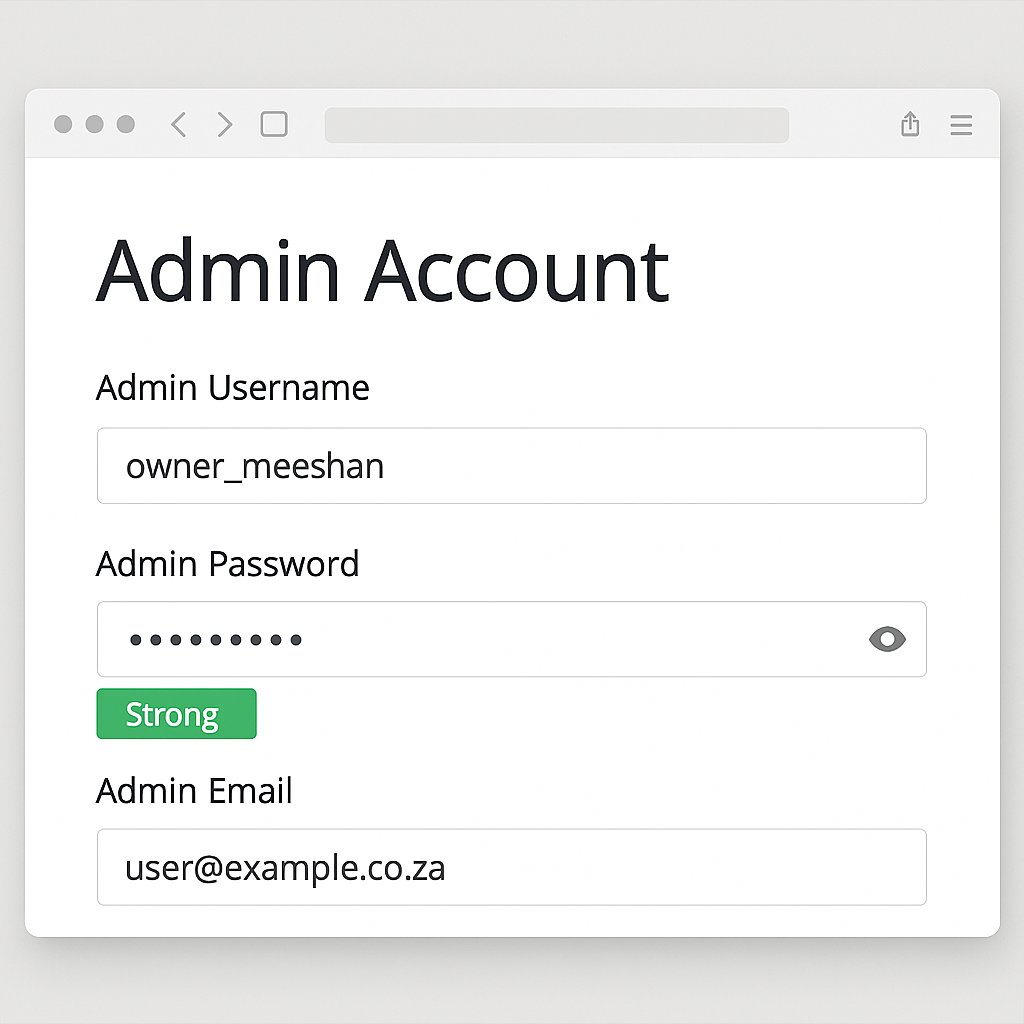
Step 6 — Admin Account
- Admin Username: Avoid “admin”; use something unique (e.g.,
owner_meeshan). - Admin Password: Use a strong password (at least 12 chars).
- Admin Email: A working email you check often (for password resets).
Step 7 — Language & Plugins
- Select Language: Choose your preferred language (usually English).
- Plugins (optional): You can tick Loginizer / Limit Login Attempts for basic brute-force protection (optional).
Step 8 — Advanced Options (Recommended)
- Database Name / Table Prefix: Leave defaults or customise (keep it short, no spaces).
- Auto Upgrade:
- WordPress: Enable Auto Upgrade (recommended).
- Plugins/Themes: Optional—enable if you prefer automated updates.
- Backup Location & Frequency: If available, choose a schedule (weekly/monthly).
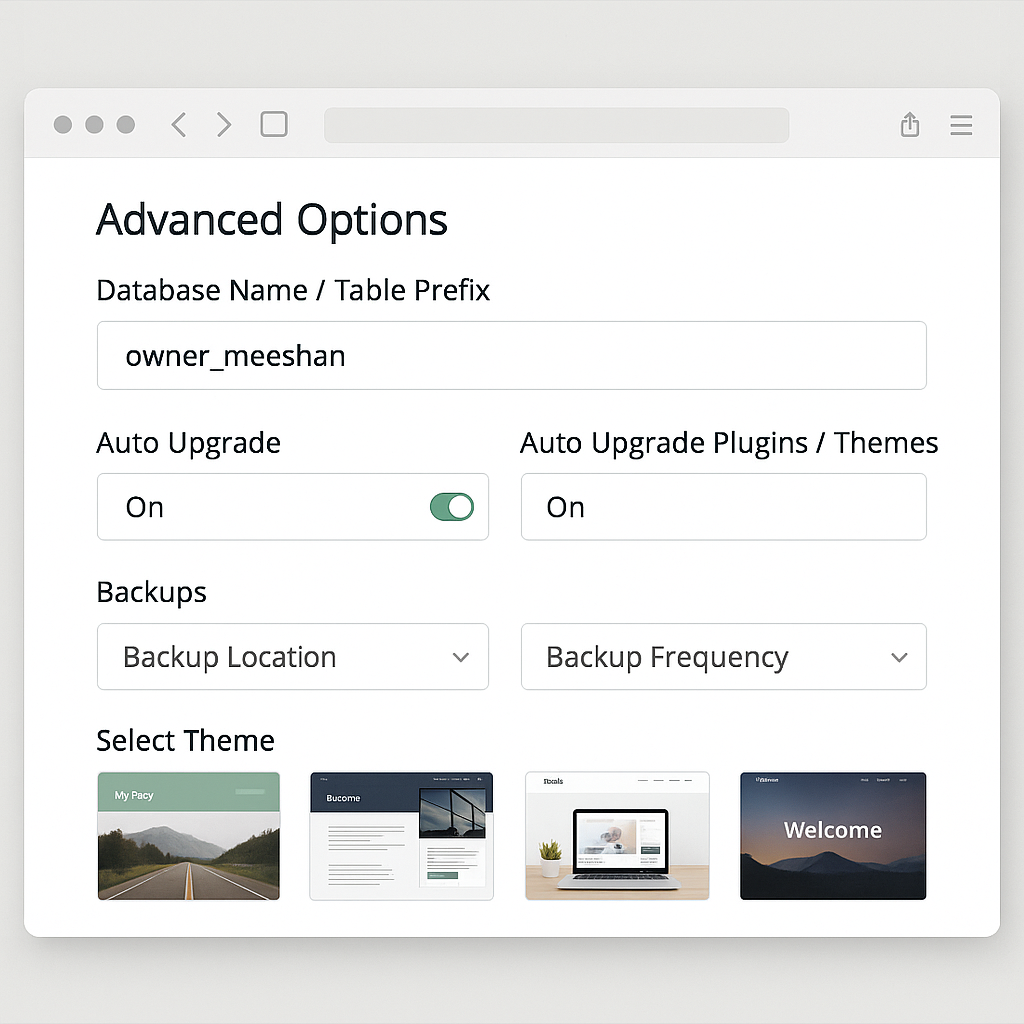
Step 9 — Select Theme (Optional)
- You can pick a starter theme now or leave it for later.
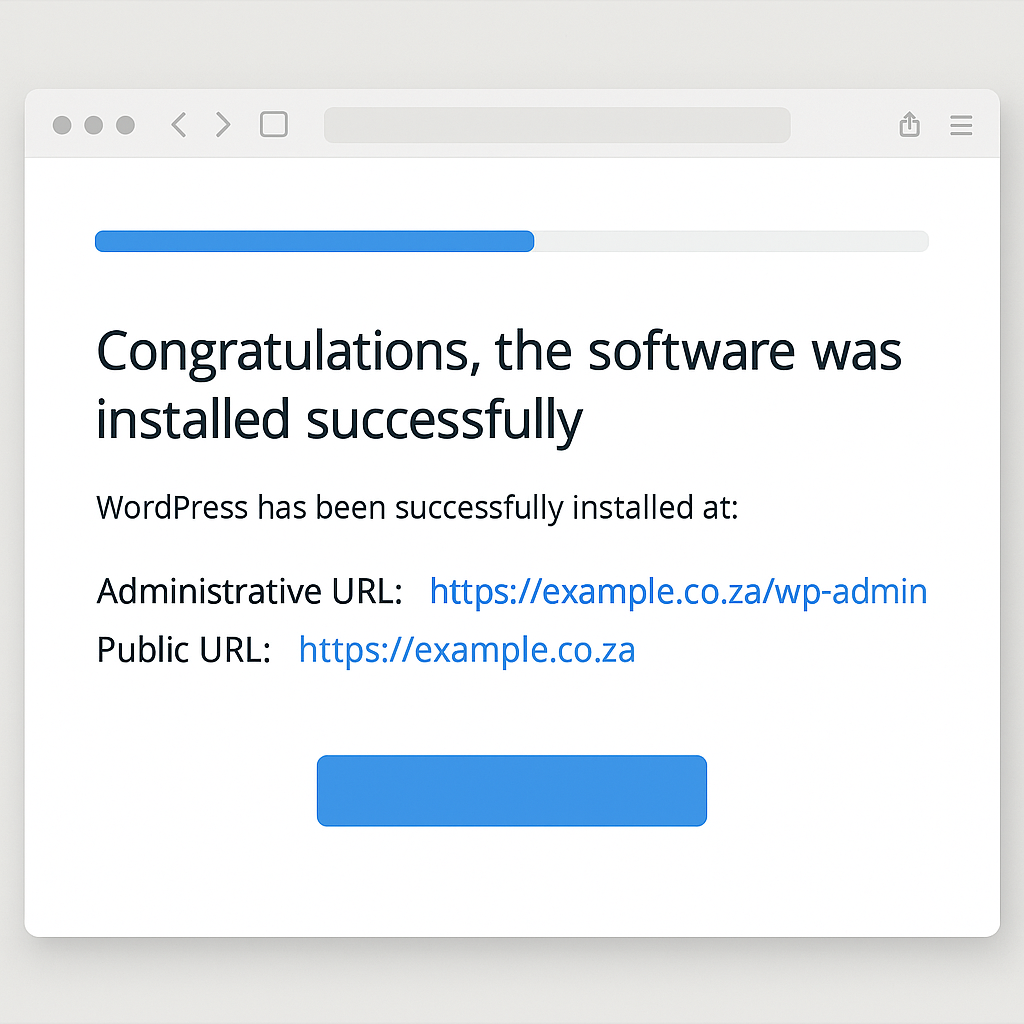
Step 10 — Install
- Click Install.
- Wait for the progress bar to complete.
- You’ll see the success screen with:
- Administrative URL (e.g.,
https://yourdomain.co.za/wp-admin) - Public URL (your site front-end)
- Administrative URL (e.g.,
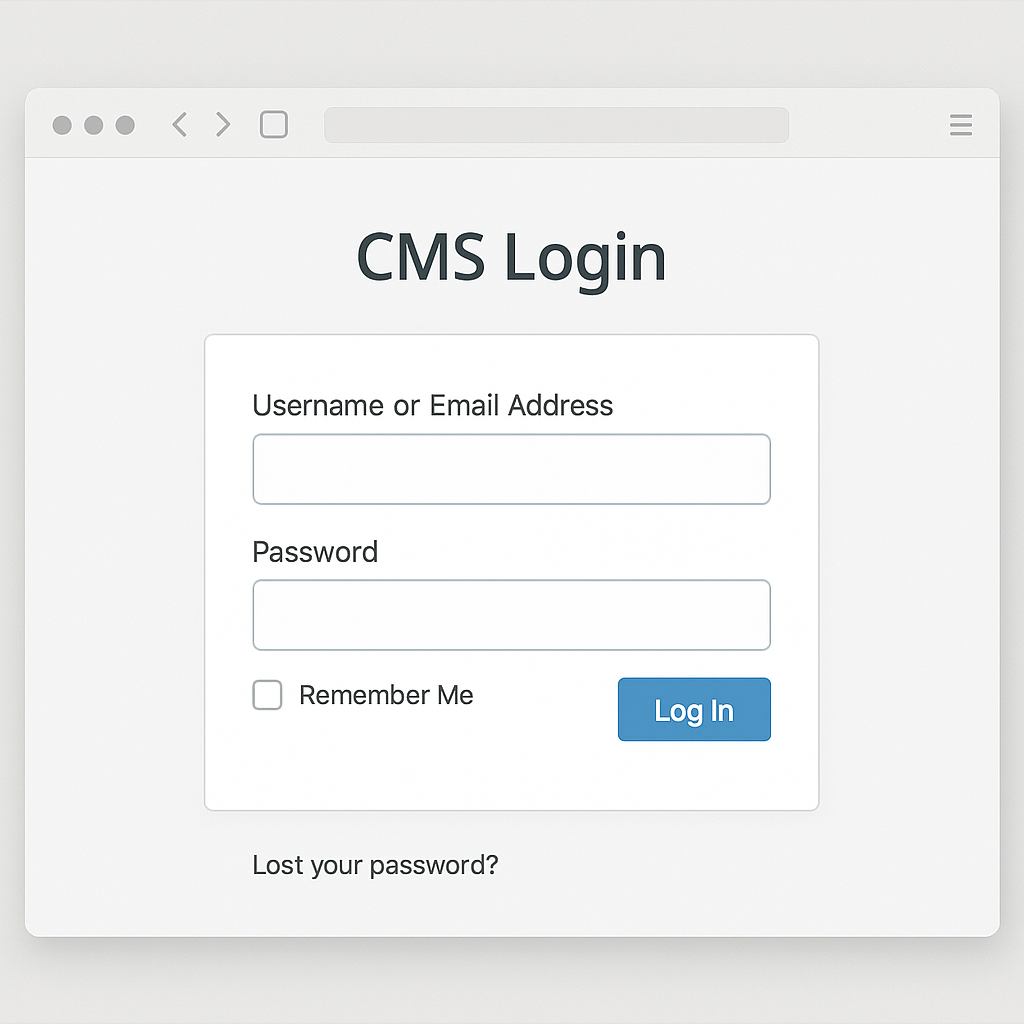
Step 11 — First Login to WordPress
- Open the Administrative URL (e.g.,
/wp-admin). - Log in with the Admin Username & Password you set in Step 6.
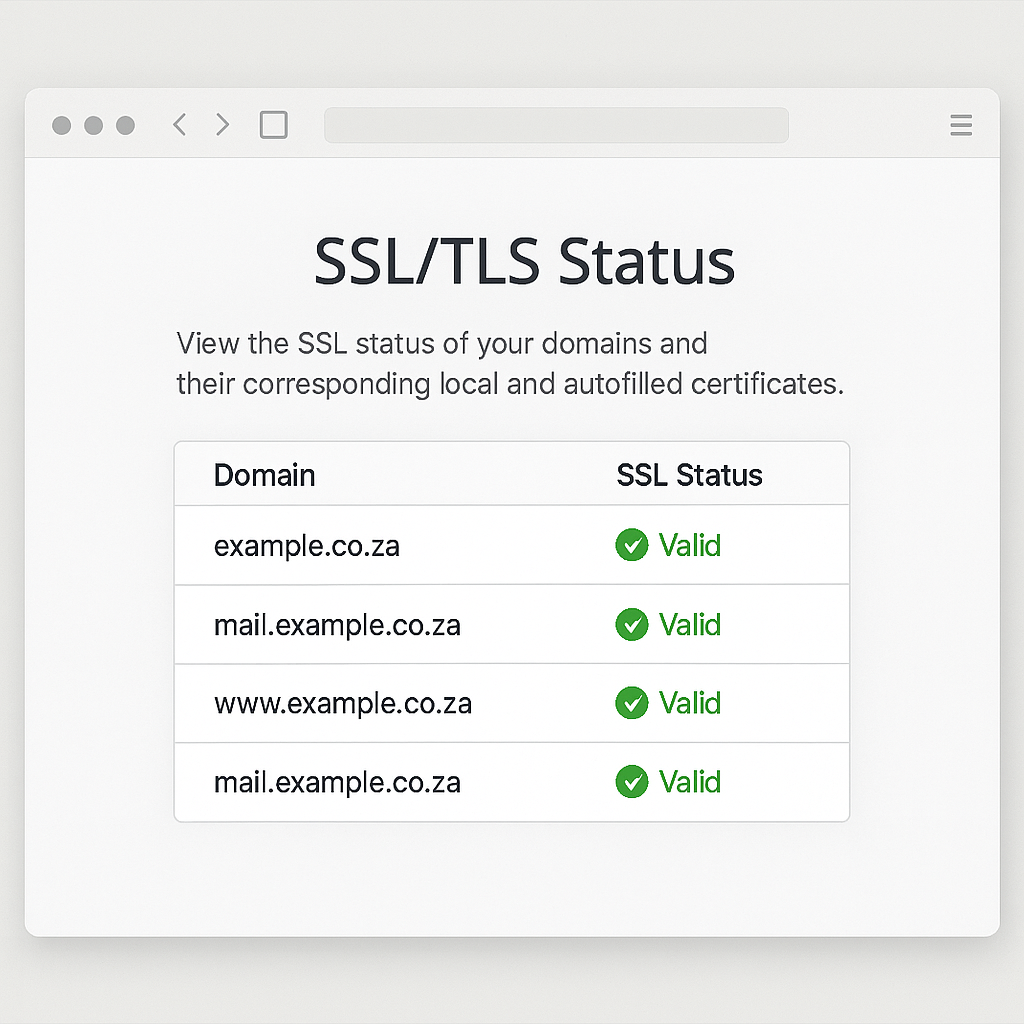
Optional) Step 12 — Enable Free SSL (If not already active)
- In cPanel, open SSL/TLS Status (or Let’s Encrypt/AutoSSL if available).
- Ensure your domain has a valid certificate, then re-run the site on
https://.
(Optional) Step 13 — Set Pretty Permalinks
- In WordPress Dashboard, go to Settings → Permalinks.
- Choose Post name → Save Changes.
Quick Troubleshooting
- I don’t see Softaculous:
Use Site Software or contact AppyHost Support to enable it. - SSL not showing / browser says “Not Secure”:
Wait up to 15 minutes after issuing AutoSSL, then revisit withhttps://and clear cache. - Installed in wrong folder:
Remove the installation in Softaculous (WordPress → All Installations → Remove), then reinstall in the correct location (leave In Directory blank for root). - Login not working:
Use Lost your password? on/wp-login.phpto reset via Admin Email.